How to Build an Image Resizer in JavaScript: Canvas API Tutorial (Free Source Code)
Build your own image resizer in JavaScript with the Canvas API — aspect-ratio lock, quality control, format conversion and watermarking, step by step with free source code.
 CodeFree Team
November 22, 2026
10 min read
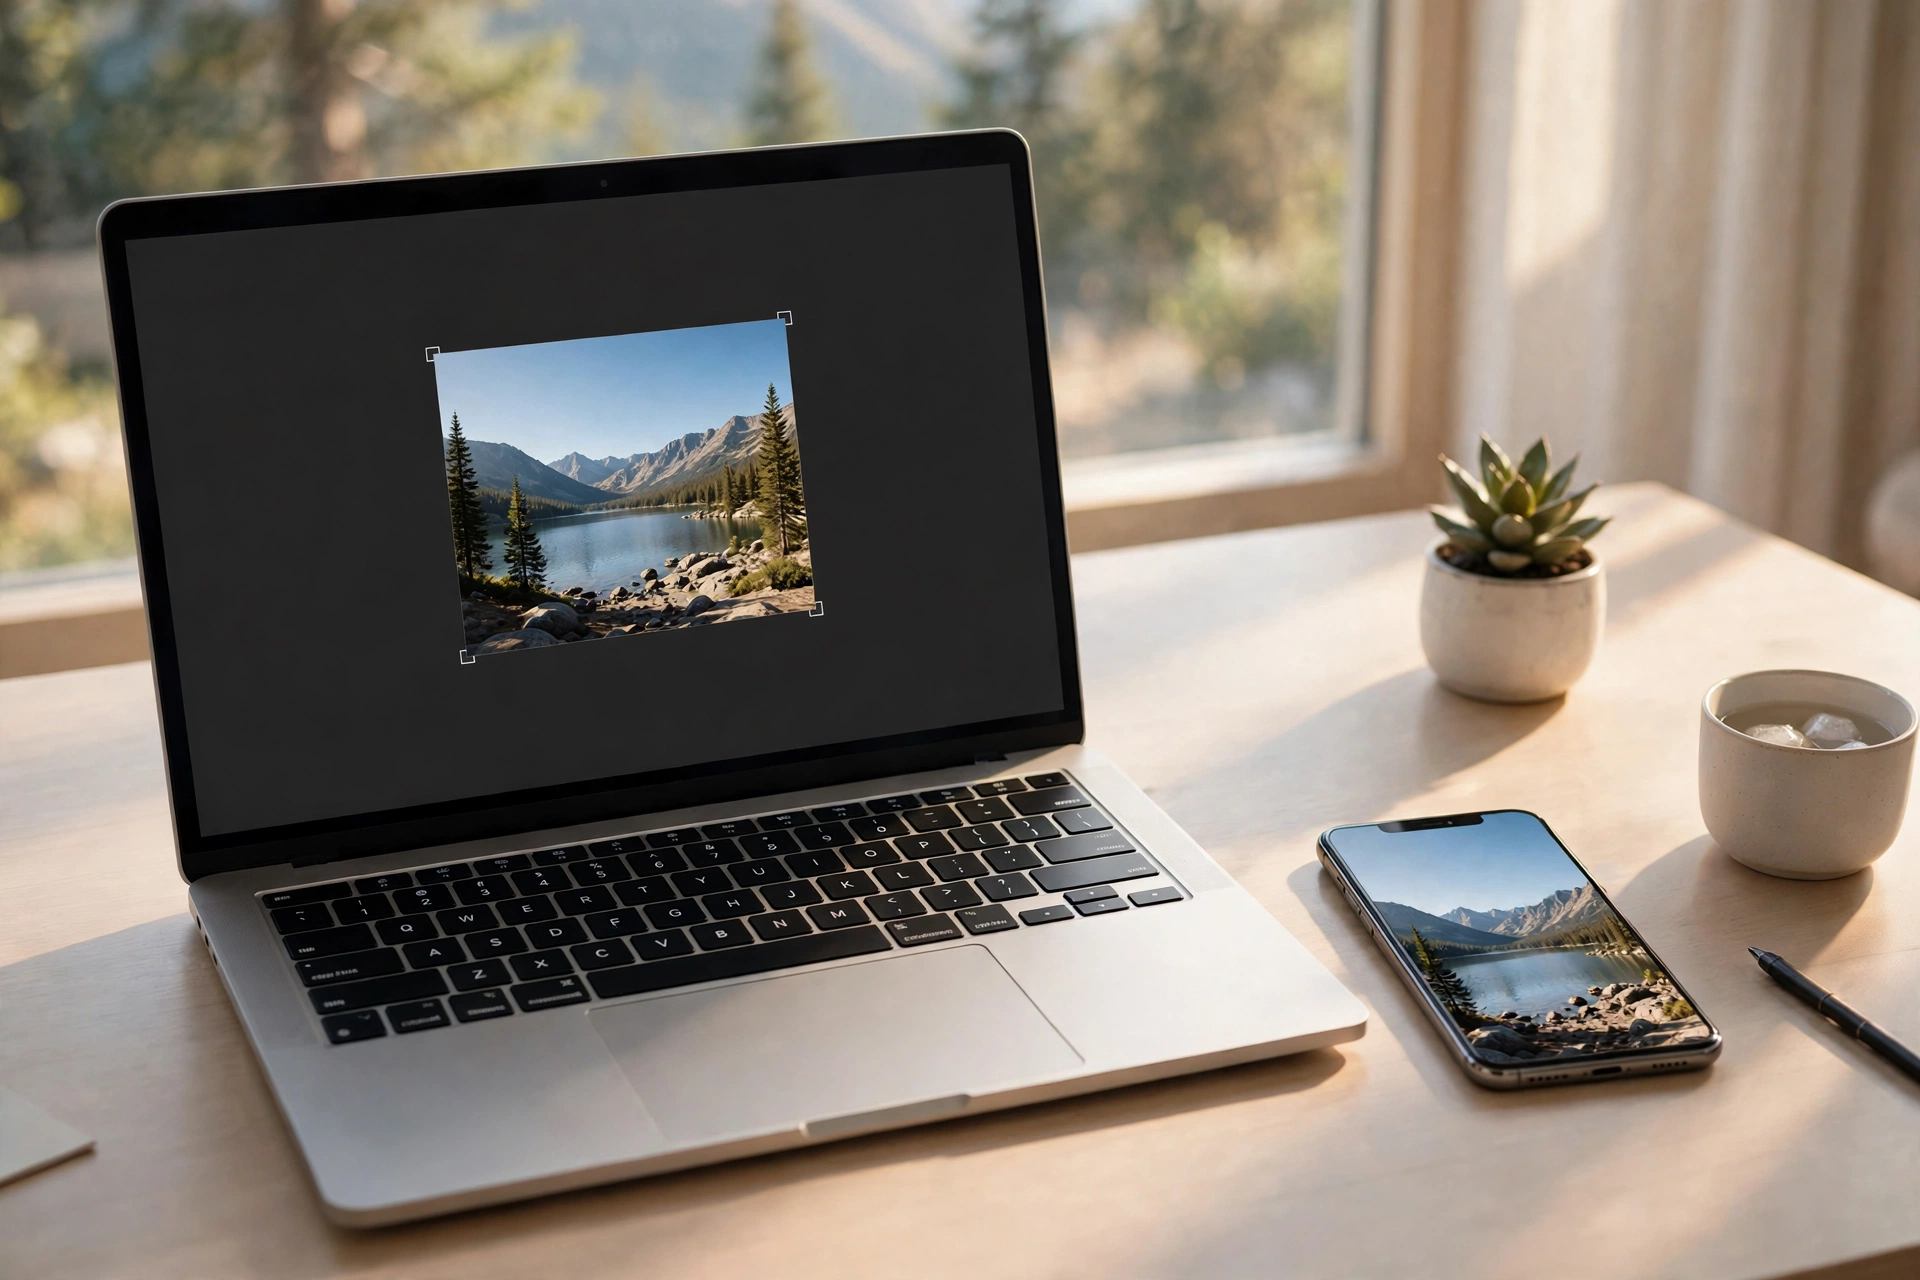
Every website, shop listing and social media post needs images — and almost every image you start with is the wrong size. A 4 MB phone photo slows your page, a 4000-pixel-wide banner breaks your layout, and a marketplace that wants 800×800 gets a 3000×4000 portrait instead. The fix is an image resizer, and you can build one yourself in about an hour with plain JavaScript and the HTML Canvas API — no libraries, no server, no upload.
In this tutorial you will build a working image resizer: pick a photo, set a width or height, keep the aspect ratio locked, choose JPEG, PNG or WebP, and download the result. Everything runs in the browser, so the photo never leaves the user's computer — a privacy point your users will love. And if you want the finished, server-side version with batch resizing and watermarks, you can download the free PHP Image Resizer & Watermarker source code from CodeFree at the end.
1. Why Resize Images in the Browser (and Why Canvas)
There are three ways to resize an image: on a server, with a desktop app, or in the browser with JavaScript. The browser route wins for small tools because there is nothing to install, nothing to upload, and the result is instant. The HTML <canvas> element is the engine: you draw an image onto a canvas at any size you choose, then export the canvas back to a file.
That matters in India more than most places. A large share of users are on mobile data, and a product page full of 3–4 MB photos loads slowly and eats data. Google also uses page speed as a ranking factor, so a shop owner who resizes images before uploading gets faster pages and better search visibility for free. A client-side resizer is also a genuinely useful free tool you can put on your own site — it is the kind of small utility that brings repeat visitors, which is exactly why CodeFree ships tools like this.
The core idea is simple: drawImage() takes a source image and a destination width and height. Set the canvas to the target size, draw the image into it, and the browser does the resampling for you.
2. What You Will Build
By the end of this tutorial you will have a single-page tool with:
- A file picker (plus drag-and-drop) that accepts JPG, PNG and WebP
- A live preview of the original and the resized image, side by side
- Width and height inputs with an aspect-ratio lock
- Preset buttons — 800px wide, 1200px wide, Instagram square 1080×1080
- A quality slider for JPEG and WebP output
- A format picker and a one-click download button
- A bonus text-watermark option
You need only three files: index.html, style.css and app.js. No build step, no framework, no npm. Open index.html in any modern browser and it works.
 3. Step 1: Build the HTML Structure
Start with the skeleton. The file input uses accept="image/*" so phones offer the camera roll directly. The canvas itself stays hidden — it is a workhorse, not a display element — and we show the result in a normal <img> tag fed by the canvas.
<input type="file" id="fileInput" accept="image/*">
<div class="controls">
<label>Width <input type="number" id="widthInput" value="800"></label>
<label>Height <input type="number" id="heightInput"></label>
<label><input type="checkbox" id="lockRatio" checked> Lock aspect ratio</label>
<label>Quality <input type="range" id="quality" min="0.1" max="1" step="0.05" value="0.85"></label>
<select id="format">
<option value="image/jpeg">JPEG</option>
<option value="image/png">PNG</option>
<option value="image/webp">WebP</option>
</select>
<button id="downloadBtn">Download Resized Image</button>
</div>
<canvas id="canvas" hidden></canvas>
<img id="preview" alt="Resized preview">Two details matter here. First, keep the width and height inputs in sync only when the lock checkbox is on — that is the behaviour users expect from every real editor. Second, the quality slider does nothing for PNG (PNG is lossless), so disable it when PNG is selected; otherwise users will wonder why the slider changes nothing.
4. Step 2: Load the Image and Draw It on Canvas
When a file is chosen, read it with FileReader as a data URL, create an Image, and wait for its onload event. Never draw before the image has loaded — that is the single most common beginner bug, and it produces a blank canvas with no error message.
let original = null;
fileInput.addEventListener('change', (e) => {
const file = e.target.files[0];
if (!file || !file.type.startsWith('image/')) return;
const reader = new FileReader();
reader.onload = (ev) => {
const img = new Image();
img.onload = () => {
original = img;
widthInput.value = img.naturalWidth;
heightInput.value = img.naturalHeight;
resizeAndPreview();
};
img.src = ev.target.result;
};
reader.readAsDataURL(file);
});Store the original dimensions when the image loads. They are the source of truth for the aspect-ratio maths in the next step, and for showing the user a "before" size like "4000 × 3000, 3.8 MB" next to the "after" size — that before/after comparison is what makes the tool feel valuable.
5. Step 3: Resize with the Aspect Ratio Locked
This is the heart of the tool. When the user edits the width and the lock is on, compute the height from the original ratio; when they edit the height, compute the width. Then set the canvas size and draw.
function resizeAndPreview() {
if (!original) return;
const ratio = original.naturalWidth / original.naturalHeight;
let w = parseInt(widthInput.value, 10);
let h = parseInt(heightInput.value, 10);
if (lockRatio.checked && document.activeElement === widthInput) {
h = Math.round(w / ratio);
heightInput.value = h;
} else if (lockRatio.checked && document.activeElement === heightInput) {
w = Math.round(h * ratio);
widthInput.value = w;
}
canvas.width = w;
canvas.height = h;
const ctx = canvas.getContext('2d');
ctx.drawImage(original, 0, 0, w, h);
preview.src = canvas.toDataURL(format.value, parseFloat(quality.value));
}A practical tip: never upscale by default. If the user types a width larger than the original, the result gets blurry — warn them ("Larger than original — quality will drop") or cap the inputs at the original size. Also round dimensions to whole pixels; a fractional canvas size throws no error but silently misbehaves in some browsers. For the preset buttons, 800px wide covers most blog and listing images, 1200px suits hero banners, and 1080×1080 is the Instagram square — but note that a square preset must crop, not squash, so it needs a small extra step: draw the image centred and cropped to a square before resizing.
6. Step 4: Download the Resized Image
Exporting is one line once the canvas holds the resized image. canvas.toBlob() gives you a real file object, which you turn into a download with a temporary anchor element — no server round-trip at all.
downloadBtn.addEventListener('click', () => {
canvas.toBlob((blob) => {
const url = URL.createObjectURL(blob);
const a = document.createElement('a');
const ext = format.value.split('/')[1];
a.href = url;
a.download = `resized-${canvas.width}x${canvas.height}.${ext}`;
a.click();
URL.revokeObjectURL(url);
}, format.value, parseFloat(quality.value));
});Name the file with its dimensions — resized-800x600.jpg — because users download several versions and "download (3).jpg" tells them nothing. And always call URL.revokeObjectURL() after the click; skipping it leaks memory every time someone resizes another photo, and on a phone that adds up fast.
 7. Step 5 (Bonus): Add a Text Watermark
A watermark is five lines of canvas code and it turns a toy into a tool photographers and shop owners actually use. After drawing the resized image, draw semi-transparent text in a corner before exporting.
ctx.globalAlpha = 0.5;
ctx.font = 'bold 28px Arial';
ctx.fillStyle = '#ffffff';
ctx.fillText('© YourShop', canvas.width - 180, canvas.height - 20);
ctx.globalAlpha = 1;Position the text relative to the canvas size, not at fixed pixels, so it lands correctly at every output size. For a production tool you would add a watermark-text input, a position picker and an opacity slider — and a server-side version that can watermark a whole folder at once. That is exactly what the free PHP Image Resizer & Watermarker on CodeFree does: resize, convert formats and stamp a text watermark, all in PHP with the GD library, free to download and host yourself.
8. 5 Mistakes Beginners Make (and How to Avoid Them)
1. Drawing before the image loads. Always do canvas work inside img.onload. An empty canvas with no error is the classic symptom.
2. Forgetting the aspect ratio. Setting width and height independently squashes faces and products. Lock the ratio by default and let users unlock it deliberately.
3. Using toDataURL for large images. Data URLs are base64, so they are ~33% bigger than the file. Use toBlob() for downloads — it is faster and uses less memory.
4. Ignoring the quality parameter. JPEG at quality 0.85 looks identical to 1.0 at a third of the file size. Offer the slider and default it to 0.8–0.85.
5. Allowing upscaling without a warning. A 400px photo stretched to 2000px will always look soft. Cap the inputs or warn the user instead of silently producing a blurry file.
Fix these five and your resizer already behaves better than half the free tools floating around the internet.
Frequently Asked Questions
Does the image get uploaded to a server when I resize it in JavaScript?
No. The Canvas API runs entirely in the browser. The file is read with FileReader, drawn on a canvas and exported locally — it never leaves the user's device, which is why client-side resizers are a good privacy story for your own site too.
Which format should I choose — JPEG, PNG or WebP?
Use JPEG for photos (small files, quality slider matters), PNG only when you need transparency or pixel-perfect screenshots, and WebP when you want the best of both — it is typically 25–35% smaller than JPEG at the same quality and every modern browser supports it.
Can JavaScript resize many images at once?
Yes — loop over input.files instead of taking only the first file, and zip the results with a library like JSZip. For heavy batch work on a server, though, a PHP tool is more practical: the free PHP Image Resizer & Watermarker handles resizing, format conversion and watermarking server-side.
Why does my resized image look blurry?
Usually one of three reasons: you upscaled a small image, you exported JPEG at very low quality, or you resized in one giant jump (4000px straight to 200px). Keep the output at or below the original size, keep JPEG quality at 0.8 or above, and for very large reductions, resize in two steps — halfway, then to the final size — for a visibly sharper result.
Want the Finished Version, Free?
This tutorial builds the browser version. If you want a ready-made, server-side resizer with batch-friendly PHP code, format conversion (JPG, PNG, WebP) and text watermarking built in, download it free from CodeFree — no sign-up, full source code included.
Keep reading
How to Build a Color Palette Generator in JavaScript: Harmony Modes, Lock & CSS Export (Free Source Code)
Build a colour palette generator in JavaScript with harmony modes, locked colours, copy-to-clipboard and CSS export — step-by-step tutorial with free source code.
Read article
How to Build a Recipe App in JavaScript: Save, Search & Scale Servings (Free Source Code)
Build a working recipe app in plain HTML, CSS & JavaScript — add recipes, live search, a servings scaler, cook mode, and localStorage saving. No framework, no backend, just three files.
Read article
How to Build a Simple Blog Website in HTML, CSS & JavaScript (Beginner Tutorial 2026)
Build a complete personal blog website with HTML, CSS and JavaScript — post grid, live search, category filters, dark mode and bookmarks. No frameworks, no backend.
Read article